Welcome Welcome Welcome!
Hi there! You must be here to learn more about how to use and create designs with fuse beads! If not, I’m not sure how you got here…
On this website you will find beginner tutorials and advanced secrets. We don’t gatekeep around here.
We’re going to start you off as if you’ve never even heard of fuse beads and walk you through the steps of your first design and the basic tools you’ll need to start off. Like any new hobby, it requires buying stuff.. but my goal for you is to not overspend! If you stick with this craft you’ll naturally grow into it, and buy as you need. And if you decide it’s not for you, at least you didn’t overdo it.
Well then.. let’s get started.
What are fuse beads?
‘Fuse bead’ is the generic term for the tiny plastic beads with a hole in the center that are laid out in patterns on a plastic pegboard. Fuse bead designs are melted together with a household iron to make beautiful creations. Both kids and adults can enjoy this hobby!
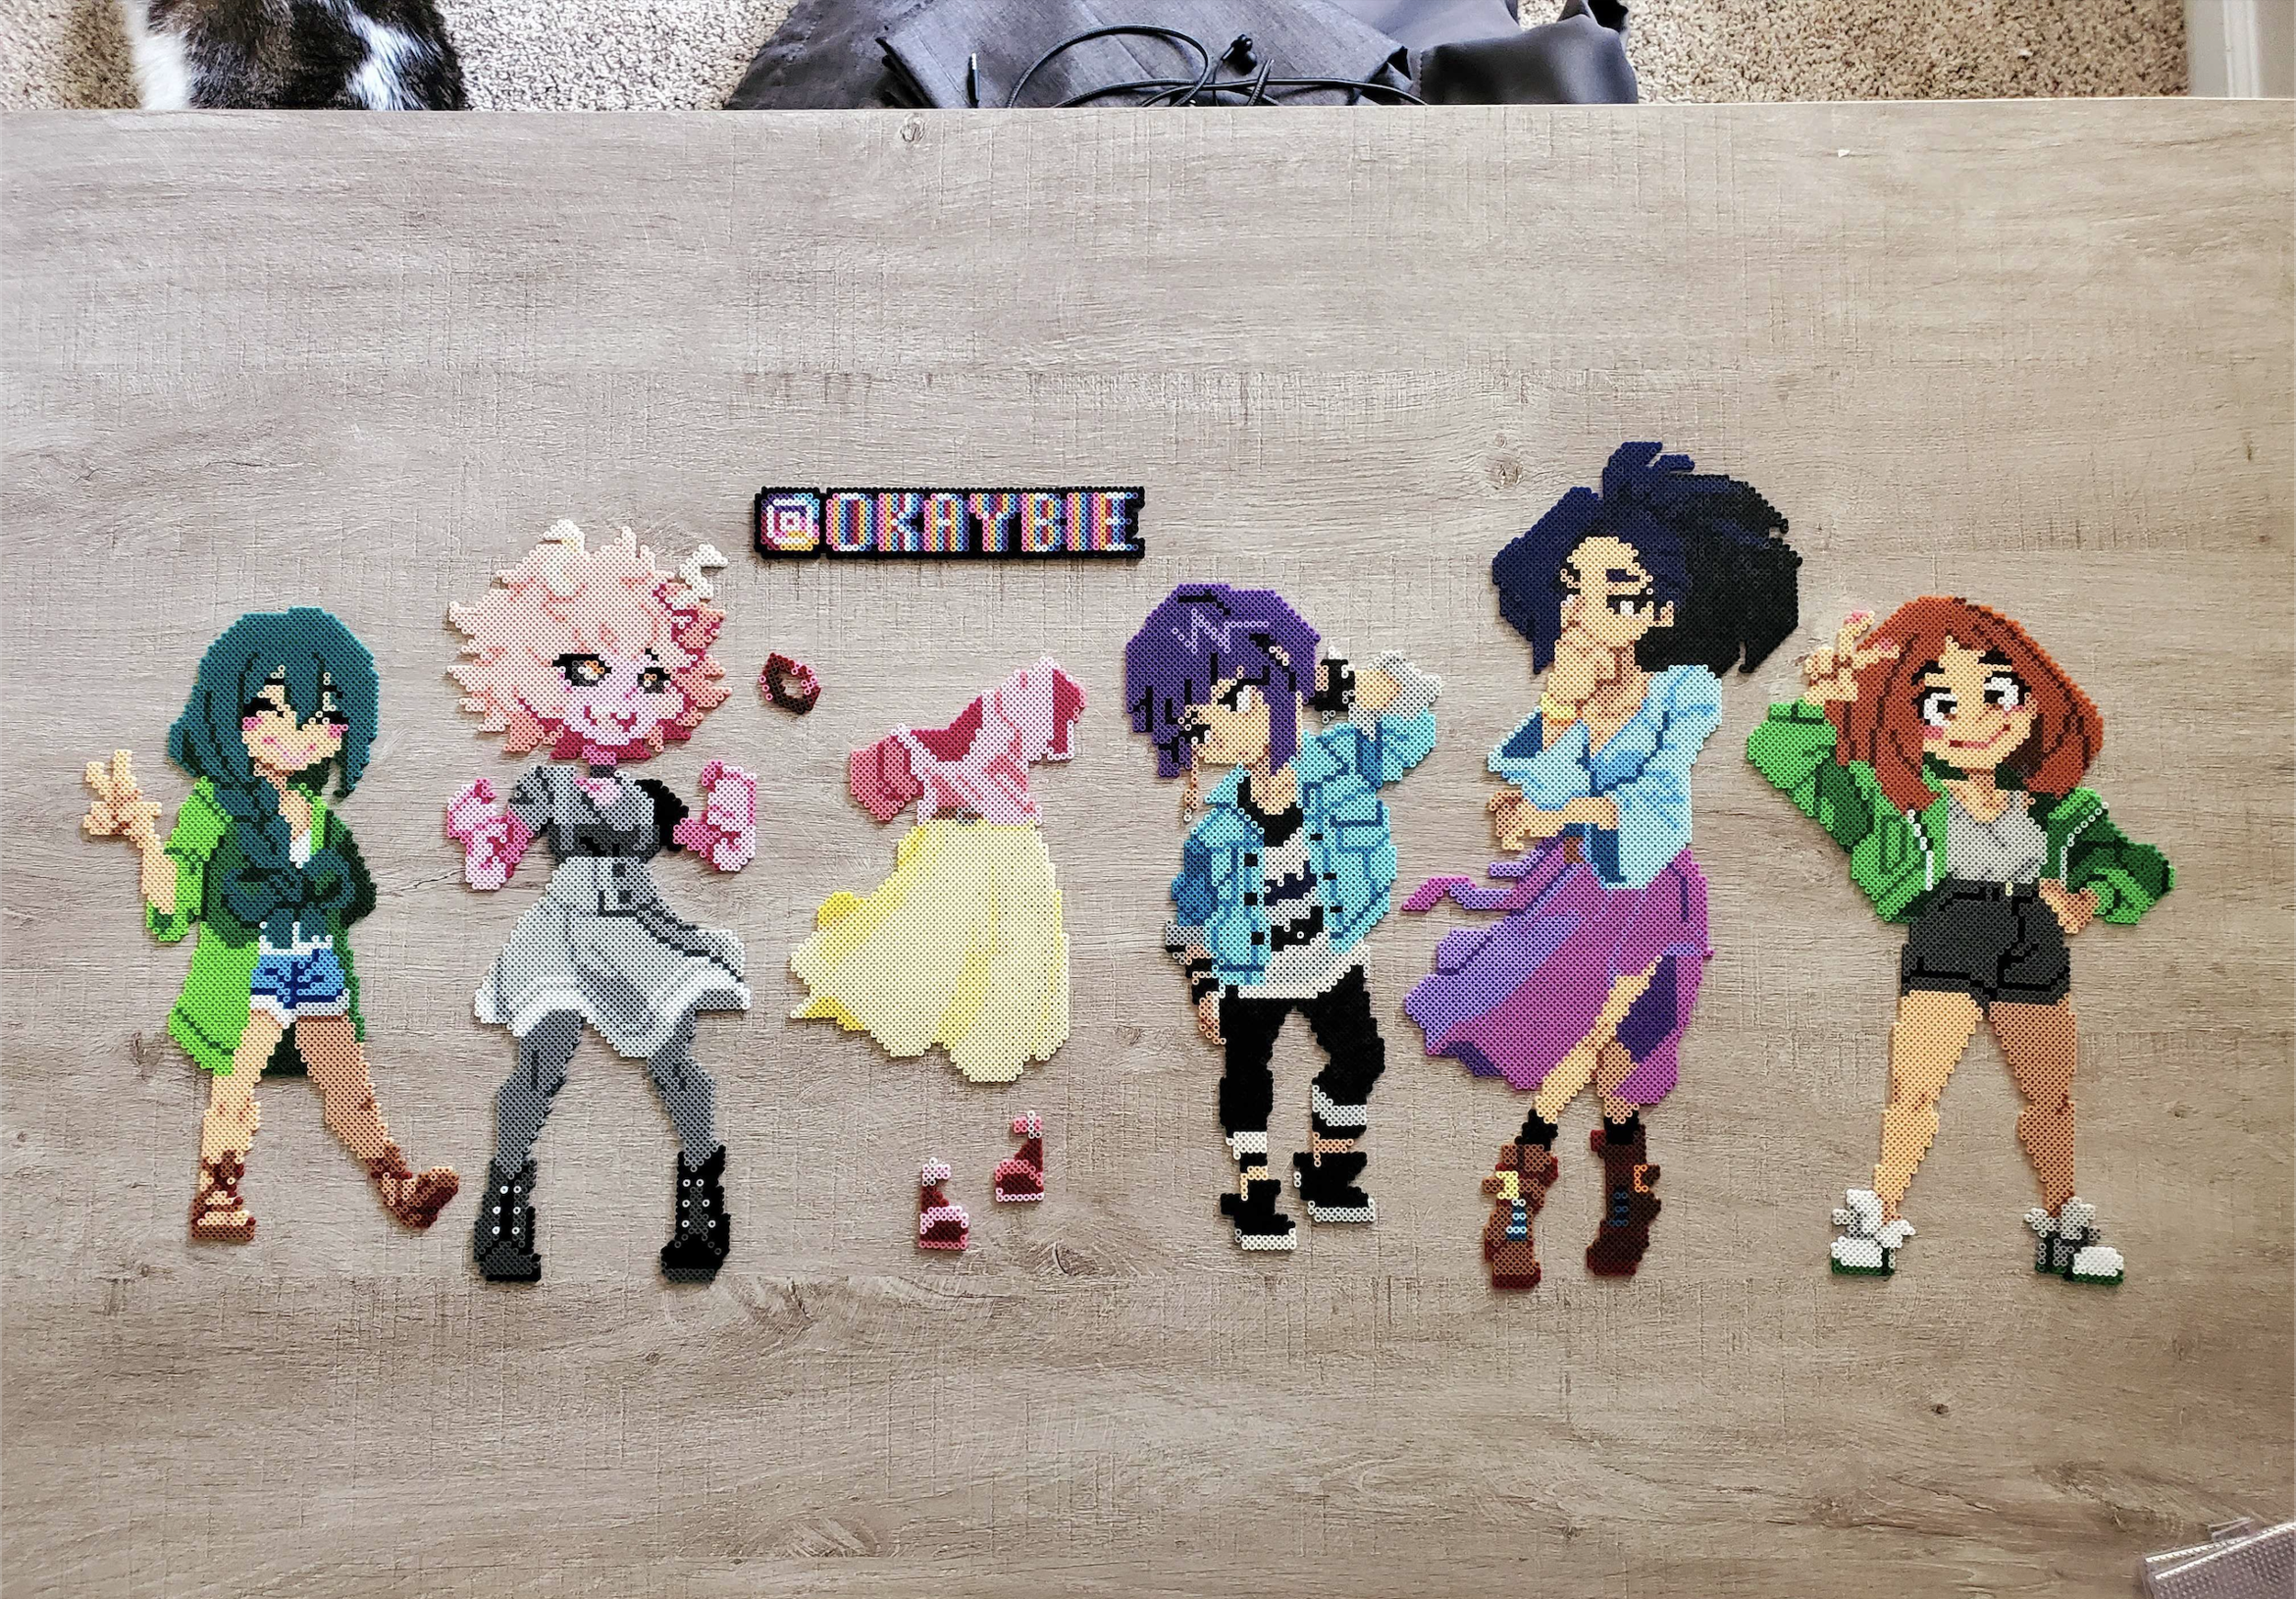
Fuse beads are probably something you remember from your childhood but for decades artists have used them as a new type of medium. The wonderful thing about this medium is you don’t even need to be able to draw a straight stick figure to be amazing.

Photo provided by Jameson Pulley
I’ve created a guide for beginners throughout this website. You’ll start off with Step #1 and move through Step #2, Step #3, and so on. As you journey on, you’ll be asked questions designed to help you make decisions.
Follow the hyperlink steps! A link to the next step will be found at the bottom of each page, before the FAQ. You can also come back here, to the main page, to find the next steps.
Some steps are designed to make you think about what products to buy, like bead brand (Perler, Artkal, etc.), and bead size (midi or mini). Your own personal goals will shape these answers and help you weigh the pros and cons of each option.
Each page has a FAQ. There’s a lot of good info in there so be sure to check it out. You can also check out the Master FAQ.
Feel free to browse. Are you already advanced? No problem! We have some helpful topics for everyone going through their bead journey. You can find a list of topics in the main menu at the top of this page.
-

Step #1: Beginner Tutorial
First, we will take a look at the Quick Start Tutorial. It’s important to know from beginning to end how to use fuse beads. We won’t go in-depth yet but it’s important to know the process.
-

Step #2: Bead Tools
You might have seen in the tutorial (step #1) that you need a few items to get started. Here I will cover a lot of different tools. You don’t need them all but we’ll talk about them all.
-

Step #3: Bead Sizes
Fuse beads come in several sizes and there are just as many terms we use for each. Here we are going to talk about each one so you can make a decision on which to go with.
“Every artist was first an amateur.”
— Ralph Waldo Emerson
-

Step #4: Bead Brands
Here we’re going to cover fuse bead brands because they are not all created equal.
-

Step #5: Mixing Brands
Can different brands be mixed and melted together?
-

Step #6: Pause & Make Decisions
Let’s think about what we’ve covered thus far. With everything you now know, can you make some decisions? I’ll even throw in my suggestions.
“Learn the rules like a pro, so you can break them like an artist.”
— Pablo Picasso
-

Step #7: Melting | Ironing
It all ends with an iron, some courage and a prayer.
-

Step #8: The Tape Method
What is the tape method? Pros and Cons – Is it even necessary? Let’s find out!
-

Step #9: Design Apps
I want to make my own designs instead of using already-made patterns.
“Creativity is taking the best skills and techniques from experts around you and improving upon them.”
— Unknown
FAQ
-
It’s widely accepted that E6000 glue is the best glue for fuse bead projects. This has also been my experience. E6000 is a carcinogen, so be sure to use this glue in a well ventilated space and do not let it on your skin.
Gorilla glue spray is good for mounting projects on canvas.
Hot glue is most commonly used in 3D projects. Be sure to test your hot glue temperature on a piece you are not particularly attached to.
Do not use super glue, gel or liquid, as it can seep through the holes in your finished product and will leave an unpleasant ashen residue on the front side.
-
Ornaments / Picture frames - as long as you have some sort of hole to thread ribbon or string through you can make anything an ornament.
Canvas - if you want to make your project feel more like a painting you can glue your project to a painted canvas. You don’t have to be particularly gifted with paint to make a colorful background.
Magnets / Keychains / Jewelry - You can buy pre-cut or a magnet roll from Amazon and glue them to the backs of your project. Keychain and jewelry hardware can be purchased on Amazon or a local craft store.
Sell them or gift them - You can always choose to sell your designs on Etsy or at a local craft fair. Craft fairs are generally safer and more flexible with design content. Sites like Etsy are particularly notorious for flagging copyrighted patterns, so be weary of selling designs that are not your own!
3D Projects - You can watch a video on 3D projects here.
Coasters - round, square, or hexagon pegboards can be used to create coasters by glueing cork to the backside.
-
Truly… any! These are the magnets I use. Be aware that the magnets that come with an adhesive backing do pop off over time and its best to secure them with E6000 glue.
-
Sure can! You can glue it to a canvas and hang it on the wall, use push pin tacks, removable whitetack, or even narrow finishing nails.
Having some trouble getting your project to stick? Try superglueing a popsicle stick to the back of your project.
-
Yes. Double-sided adhesive sheets can be used on designs you want to keep but not melt. You can find a video on how to use adhesive sheets here.
-
Online: Perler, Artkal, BeadTin, FuseBeadStore
Local & online: Hobby Lobby, Michaels, Joann’s Fabrics
-
Surprisingly… maybe. No brand has come out and said their beads go bad over time but I’ve heard many people claim their beads from last year melted poorly and had more ‘blowouts’. If you’re unsure just test them! (more on blowouts here)